How To Upload & Manage Contacts With Mass Texting Service
Table of Contents
To be able to send mass texts with Mass Texting Service, you first need contacts to text. This guide will walk you through how to upload your contacts to the app using the contacts tab.
Navigating The Contacts Tab
The first thing you need to do to start uploading contacts is to navigate to the contacts tab using the menu on the left sidebar of the app. The contacts tab is where all of your contacts will be located. When you get to the contacts tab you’ll notice a search bar at the top left of the page for searching for specific contacts. You’ll also notice two buttons at the top right of the tab view labeled “import” and “add contact.
The “import” button will allow you to bulk import an unlimited number of contacts at a time using a csv. The “add contact” button will allow you to add one contact at a time, which can be easier to use if you only have one new contact to add. We’ll walk through how to use both buttons to import contacts.
Importing Single Contacts With The Add Contact Button
To import one contact at a time, you can use the “add contact” button at the top right of the contacts tab. Navigate to the “add contact” button in the contacts tab and press it.
A new window will pop-up when you press the “add contact” button where you can enter the phone number, first name, and last name of the new contact.
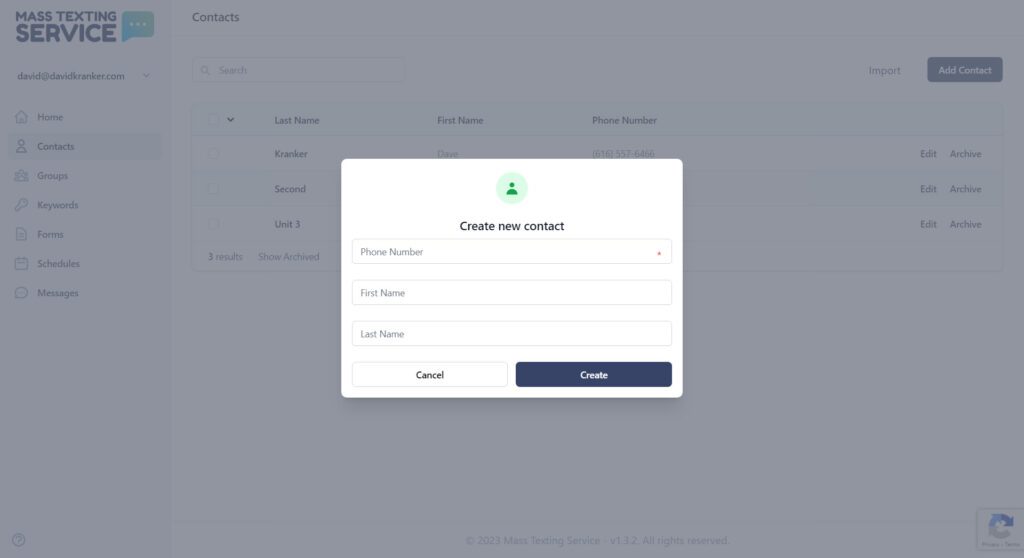
Once you’ve entered all of the details for your new contact, you can press the create button to close the window and add your contact. As you start to add contacts, your contacts will display in the contacts tab as rows in the contacts table.
Importing Contacts In Bulk With A CSV
Mass Texting Service supports the ability to import contacts in bulk using a CSV file. Before you attempt to import contacts, you’ll want to make sure your file headers are formatted properly. You can use the following headers in your file:
- first_name – For the first name of your contact
- last_name – For the last name of your contact
- phone_number – For the contact’s phone number
- group – to specify any groups you want your contacts to be added to.
Phone number is a required field, but the rest of the fields are optional. You can avoid having to format your own headers by downloading our import template. You can download the template by clicking the button below.
The easiest way to modify our template would be to import the CSV into Excel or Google Sheets to make your edits. Once your contacts are added and formatted in your sheet, you can download your file as a CSV and head to the Mass Texting Service app.
In the app, you can press the “Import” link at the top right of the contact tab to start importing your CSV. A window will pop up to select a file to import.
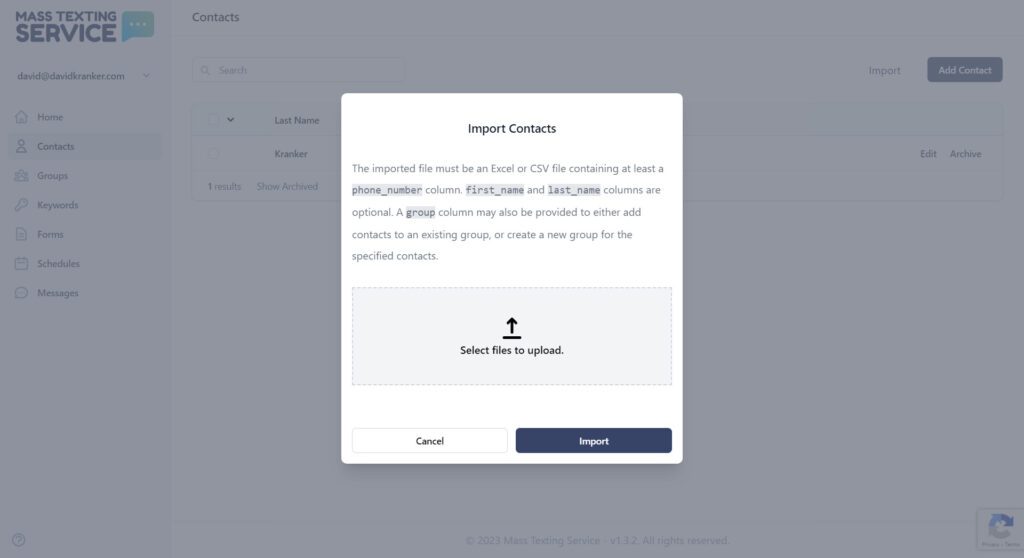
Once your file has been selected, you can press the blue import button to begin the import. Depending on how large your file is, it may take a few minutes for your contacts to import. You do not have to wait in the contacts tab while your contacts are being imported. You can navigate to other tabs within the app and you’ll receive a push notification once the import is complete.
Editing Contacts
There are two ways to edit contacts. You can edit individual contacts or edit contacts in bulk. We’ll walk through the process for both below. If you want to edit a contact’s personal details, you’ll need to edit the contacts individually. If you want to archive or add contacts to groups, then you can edit them in bulk.
Editing A Single Contact
To the right of the contact’s phone number in the contact view you’ll see a link titled “Edit”. You can click the “Edit” link to open up a window to edit the contact’s details.
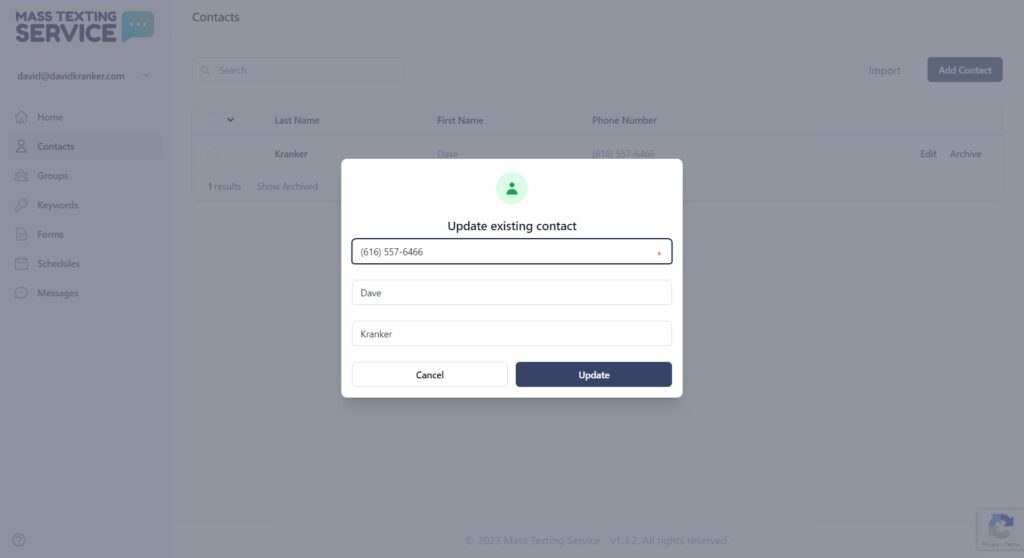
In the pop-up window, you’ll be able to use the input boxes to modify the contact’s phone number, first name, and last name. Once you have the details corrected, you can press the update button to save the contact details and close the edit window.
Bulk Editing Contacts
You won’t be able to bulk edit contact details like names or phone numbers. Bulk editing contacts is reserved for archiving contacts and adding contacts to groups. To bulk edit contacts, select the contacts you want to edit by pressing the check mark box next to each contact’s name.
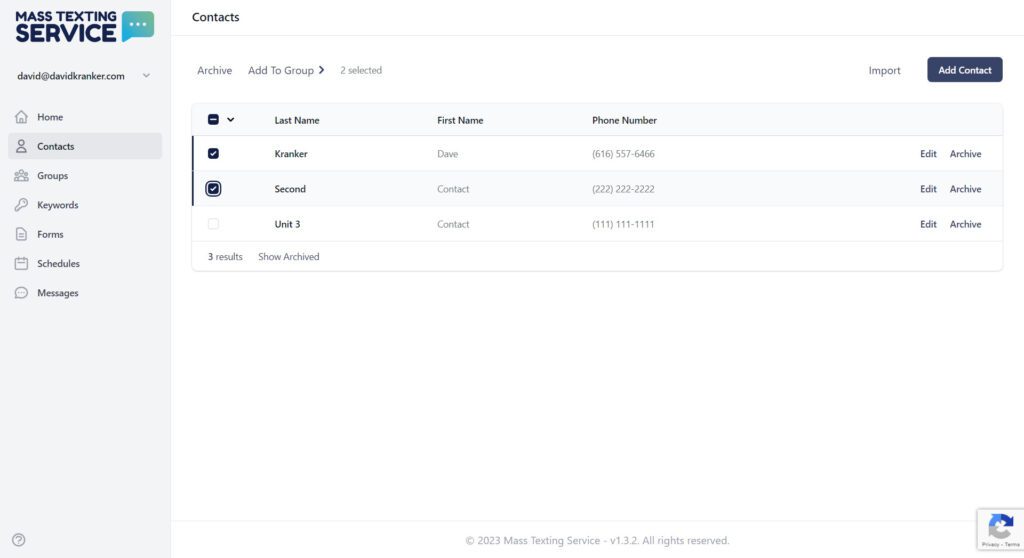
Once you start to select contacts, the search bar at the top left of the view will be replaced with buttons to “Archive” the contacts or “Add To Group”. You can press the archive button to archive your selected contacts.
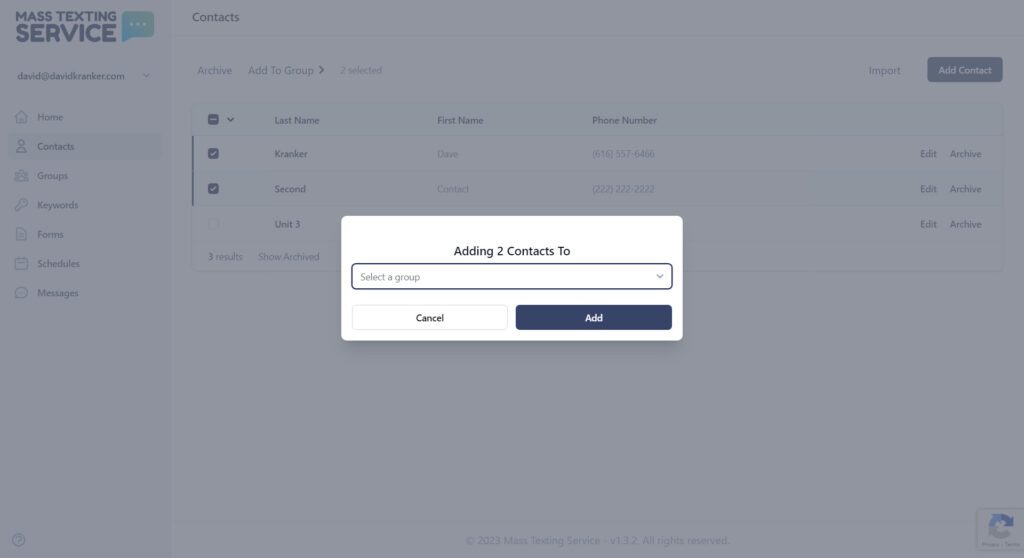
If you press the “Add To Group” button, a window will pop-up for you to select which group you’d like to add your contacts to. You can select the group from the dropdown and then click add to add the contacts to the selected group.
Archiving Contacts
At some point, you may wish to archive contacts so that they no longer receive your text updates. You can archive a single contact or bulk archive multiple contacts.
To archive a single contact, simply press the “Archive” button to the right of the contact and the contact will be archived.
To archive multiple contacts at a time you can use the checkbox next to each contact’s name to select the contacts you want to archive. Once you’ve selected the contacts you want to archive the search bar will be replaced with buttons for archiving and adding contacts to a group. You can select the archive button to archive all of your selected contacts.
Viewing Archived Contacts
Your contacts won’t be lost if you archive them. You can view your archived contacts at any time by pressing the “Show Archived” link under your contacts table in the contact tab. Once you press the “Show Archived” button, you’ll be taken to a table of all archived contacts.
Restoring Or Deleting Archived Contacts
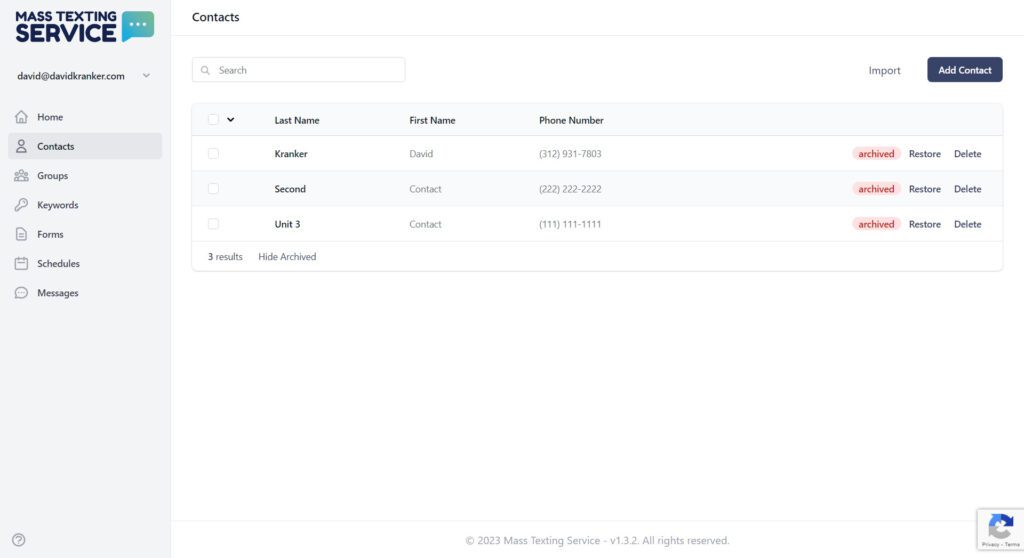
Once you’re in the archived view you’ll be able to restore archived contacts back to your contacts list or permanently delete them. Keep in mind that all Mass Texting Service plans offer unlimited contacts. There’s no downside to keeping your contacts in your account. The only reason you may delete contacts would be to clean up your archived list.
To the right of each contact in the archived view are two links to “Restore” or “Delete” the contact. You can press the “Restore” link to add the contact back to your contact list. You can also press the “Delete” link to permanently delete the contact from your account. You can select multiple contacts at a time using the check boxes to bulk restore or delete contacts.